As I explained in my last post, I am going to use crowdsourcing to develop a logo for this site. My hope is that in doing so, I will be able to work with multiple designers, see several different concepts and variations, some of which I might not have ever considered had I chosen to use just one designer.
There are various online logo design sites. The big two are 99designs.com and 48hourslogo.com. I have decided to use 48hourslogo.com (affiliate link) to create my logo.
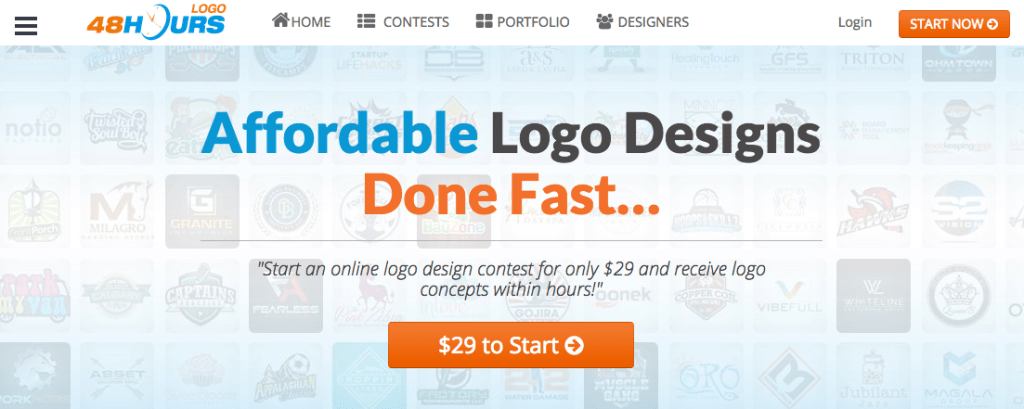
Steps to create a logo online with 48hourslogo.com
1 – Create your project name
Simple really just name the project however you want it to appear to designers. Since logos are typically being designed for businesses the first questions actually asks for your business name. I just named mine Ryan Rhoten logo.
2 – Tell the designers about your business
Designers are looking for information that will help them design a logo appropriate to your company image/brand. For my logo, I told them that I was a consulting business who helped companies and people align their actions to achieve their goals.
3 – Select your target audience
This is a simple drop-down menu. Pick the industry that most closely matches your business. I selected consulting.
4 – Choose a logo style
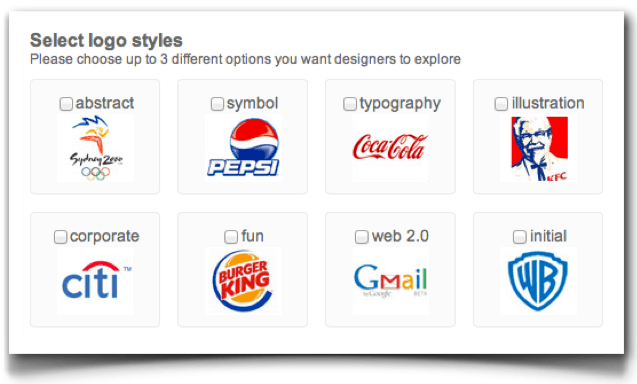
There are eight you can choose from with a picture representing what each style represents. Your choices are; abstract, symbol, typography, illustrations, corporate, fun, Web 2.0, and initials.
Selecting a logo style allows designers to narrow their styles to not only what you like but also what they are capable of designing. It provides them with a good starting point for your logo. Because I wanted to see a variety of designs I selected typography, Web 2.0, and initials.
5 – Select your color preference
Interestingly enough I had just selected the color that best represents me as a part of my personal branding journey. To get complementary colors, I recommend http://www.color-hex.com At color-hex you can find not only complimentary colors but you can see monochromatic, analogous and triadic colors as well. Curious what those mean? Check out the site.
6 – List out ideas and concepts
This part is important. Here is where you tell the designers either with pictures or words what your thoughts are around a potential design. If you a rough idea of what you would like to see this is where you give the designers a starting point. If you have no thoughts and just want to see what will be presented just state that here. Put some thought tip to this as it will drive the designs you get.
7 – Finally choose your contest options
You start by setting the content prize. You can do the minimum, $99, or whatever you what to pay. There is a 15% fee charged by 48hourslogo.com (affiliate link) based on your contest prize. There are some upgrade options that are completely up to you. You can, for example, choose to make your project featured for an additional $19. I didn't choose any optional features.
8 – Choose your payment
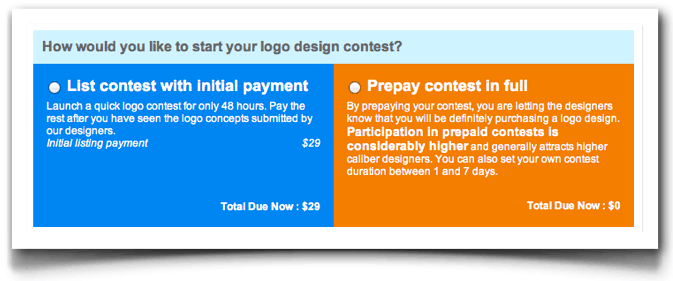
You can choose to either list your project with an initial payment of $29 with the balance paid after the contest. Or you can prepay the contest in full.
Choosing prepays lets designers know what the contest pays and that it is guaranteed. I choose to prepay thinking that it would attract more designers.
After you click Submit your contest begins. So sit back and wait for the logos to roll in?
QUESTION: Have you ever had a logo designed for you or your business? Did you choose the online option or single designer? Would love to hear about your experience.
